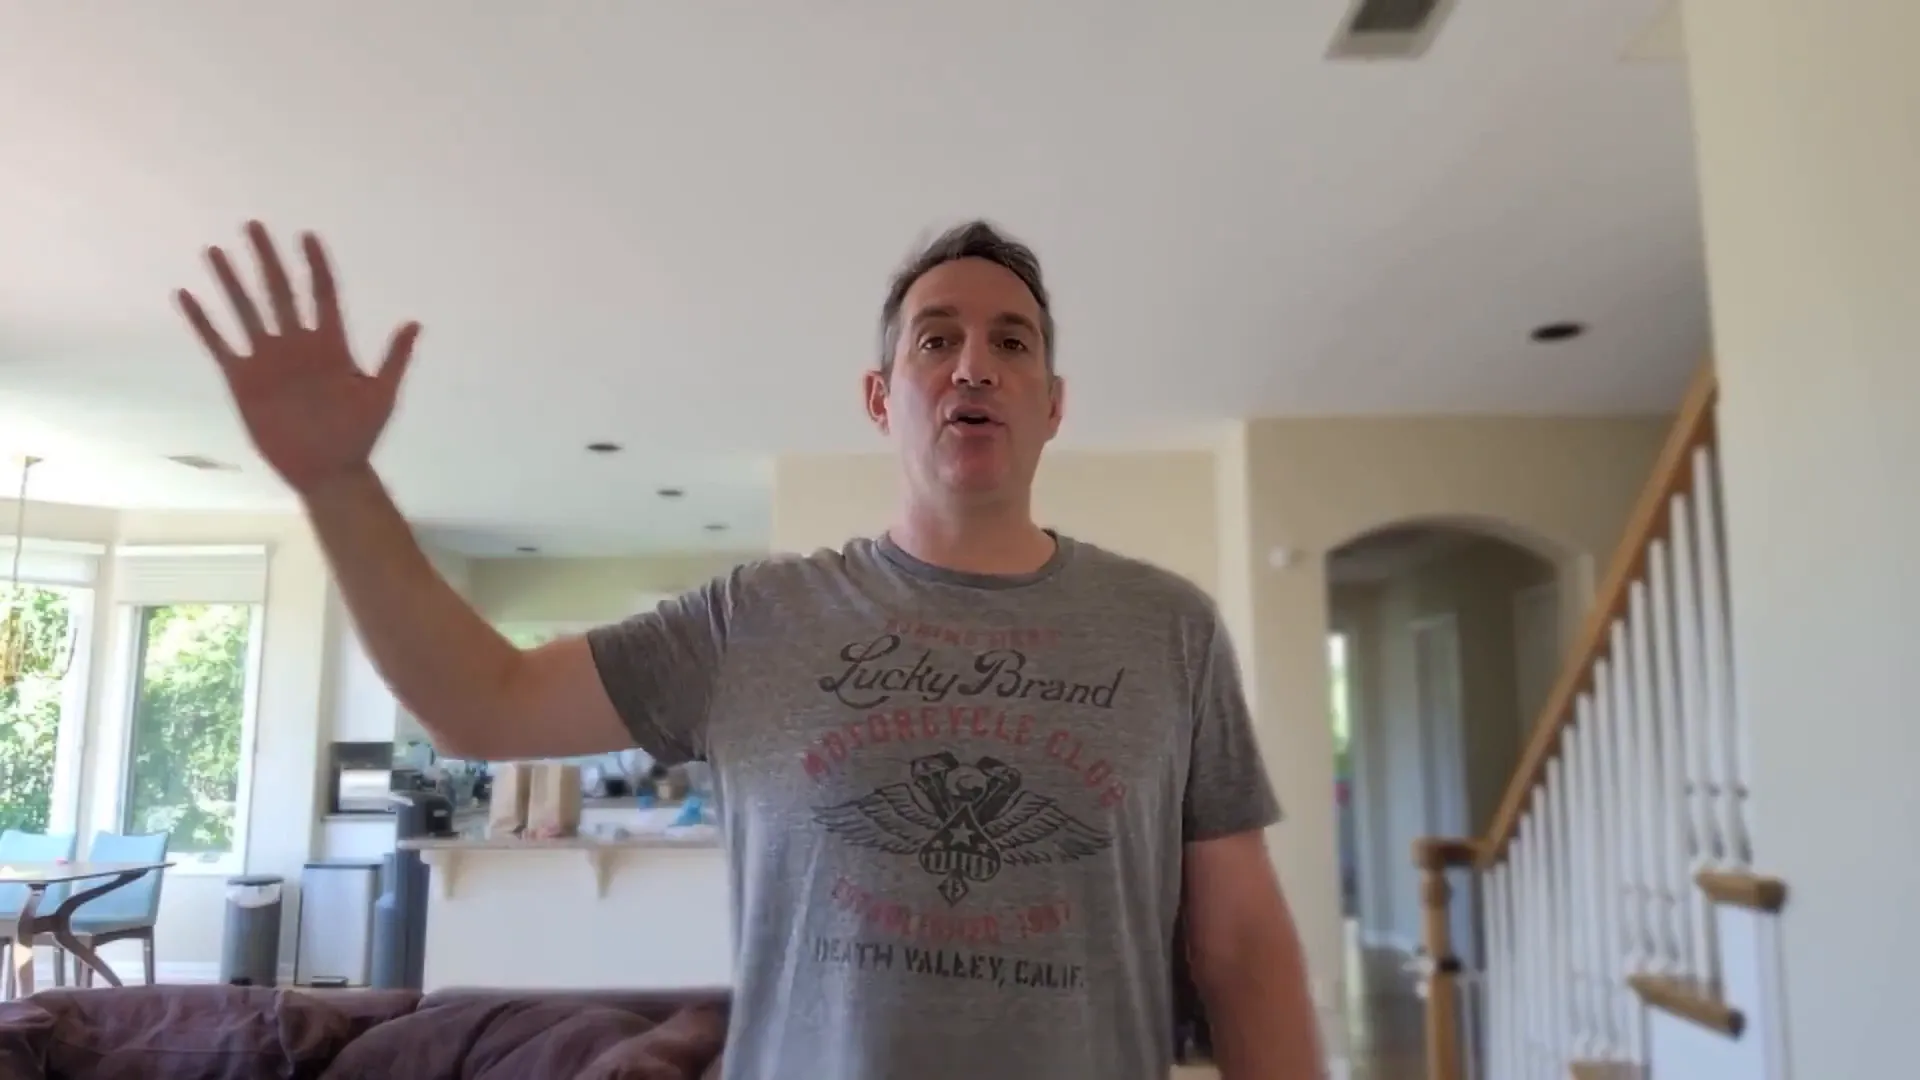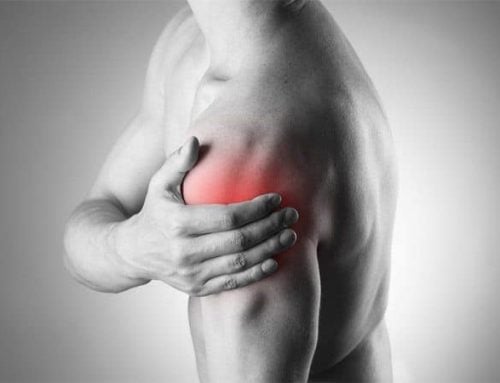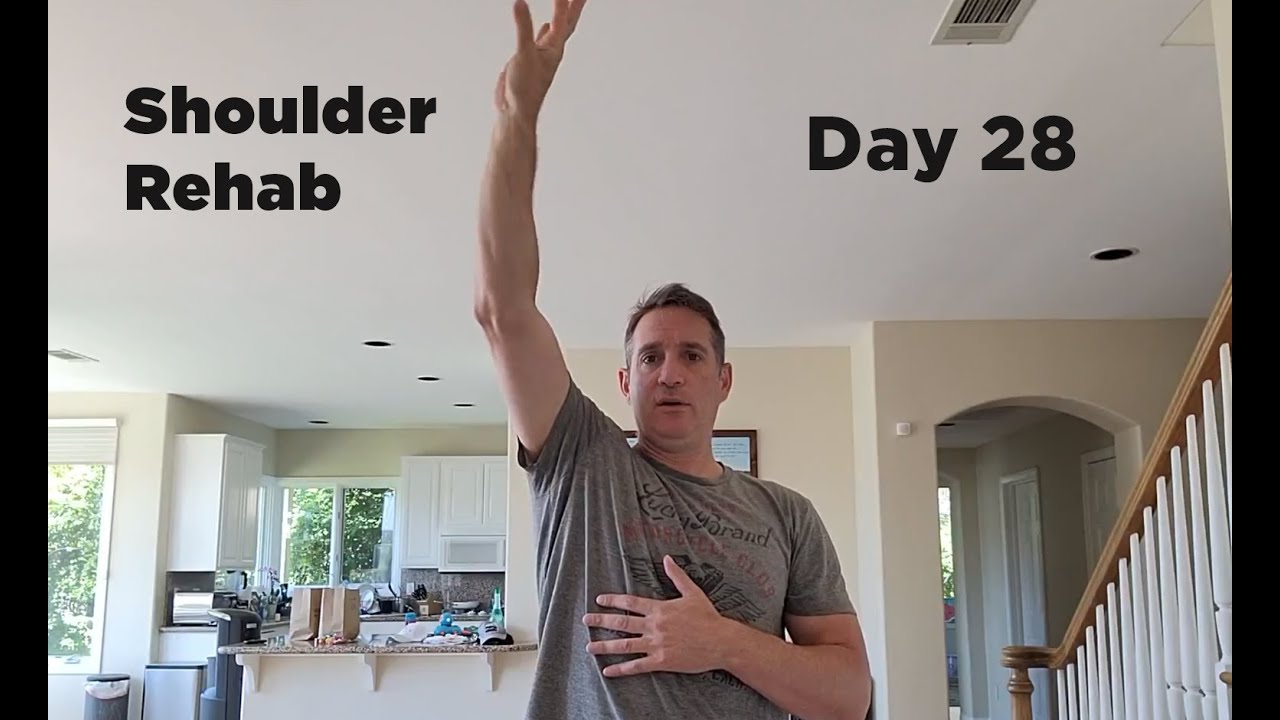
Recovering from a serious shoulder injury can be an overwhelming and frustrating journey. When I faced this challenge about a month ago, I initially thought surgery might be inevitable instead of shoulder rehab. My arm was immobile, and the pain was severe. But today, I am thrilled to share that my shoulder is fully healed—100% mobility restored, no pain, no inhibition, and I’m back to doing what I love with confidence. In this article, I’ll walk you through everything I learned during this healing process, including practical steps and mindset shifts that helped me get back to full strength safely and effectively. Whether you’re recovering from a shoulder injury or any other joint issue, these insights will guide you toward not just healing, but thriving.
The 90 and 10 Rule of Injury Recovery
One of the most important concepts I want to share is what I call the 90/10 rule in injury recovery. When you get injured, the first 90% of getting back to health is often standard and achievable. This phase might take weeks, months, or even longer depending on your approach—whether you rest passively or engage in active rehabilitation. Eventually, you’ll reach a point where your injury feels about 90% healed. You might notice some mild discomfort at the extremes of your range of motion or a slight lack of strength. This is the phase where many people stop pushing forward, but this is exactly where you need to focus your efforts.
Getting from 90% to 100% is the hardest part. It’s that last 10% that requires dedication, patience, and strategic rehabilitation. This stage is critical because you want to return not just to your pre-injury state but to a place where your shoulder (or any injured joint) is stronger and more stable than before. Why? Because this helps protect the injured area and prevents compensatory injuries elsewhere in your body.
Why the Last 10% Is So Challenging
Think about weight loss as an analogy. At the start, shedding pounds might feel easy—cutting out soda or skipping a second plate of food can make a big difference quickly. But those last five or ten pounds? Those are the hardest to lose because your body resists letting go of that weight. Similarly, your body becomes protective of an injured area. It develops habits—locking down the joint, guarding muscles, and avoiding certain movements to prevent further damage.
To get past this protective barrier, you have to push through discomfort, rebuild strength, and retrain your body to move naturally again. This means engaging in focused rehab exercises that include movement, strength training, and stability work, even when it feels tight or sore. If you don’t, your shoulder may remain in a “hibernation” mode—unstable, weak, and prone to reinjury.
“If you don’t do these things, it’ll hurt a year from now or two years from now. It’ll just keep hurting because you’re not taking care of the actual root cause of the issue.”
Protecting Your Entire Body, Not Just the Injured Area
Another key lesson I learned is that injury recovery isn’t just about the injured joint. Your body is a complex, interconnected system. When one area is weak or unstable, other parts compensate, which can lead to new injuries.
For example, if your right shoulder is weak or painful, you might unconsciously overuse or strain your left shoulder. The same goes for knees, ankles, hips, or your lower back. The body tries to adapt, but this often results in imbalances and additional pain. That’s why it’s crucial not only to get your injured shoulder back to 100% but also to maintain and protect the rest of your body.
My Step-by-Step Approach to Getting Back to 100%
Once I understood the importance of the last 10% and protecting the whole body, I designed a rehab strategy that helped me regain full mobility and strength. Here’s what I did in the last two weeks of my recovery journey:
1. Starting with Static Holds
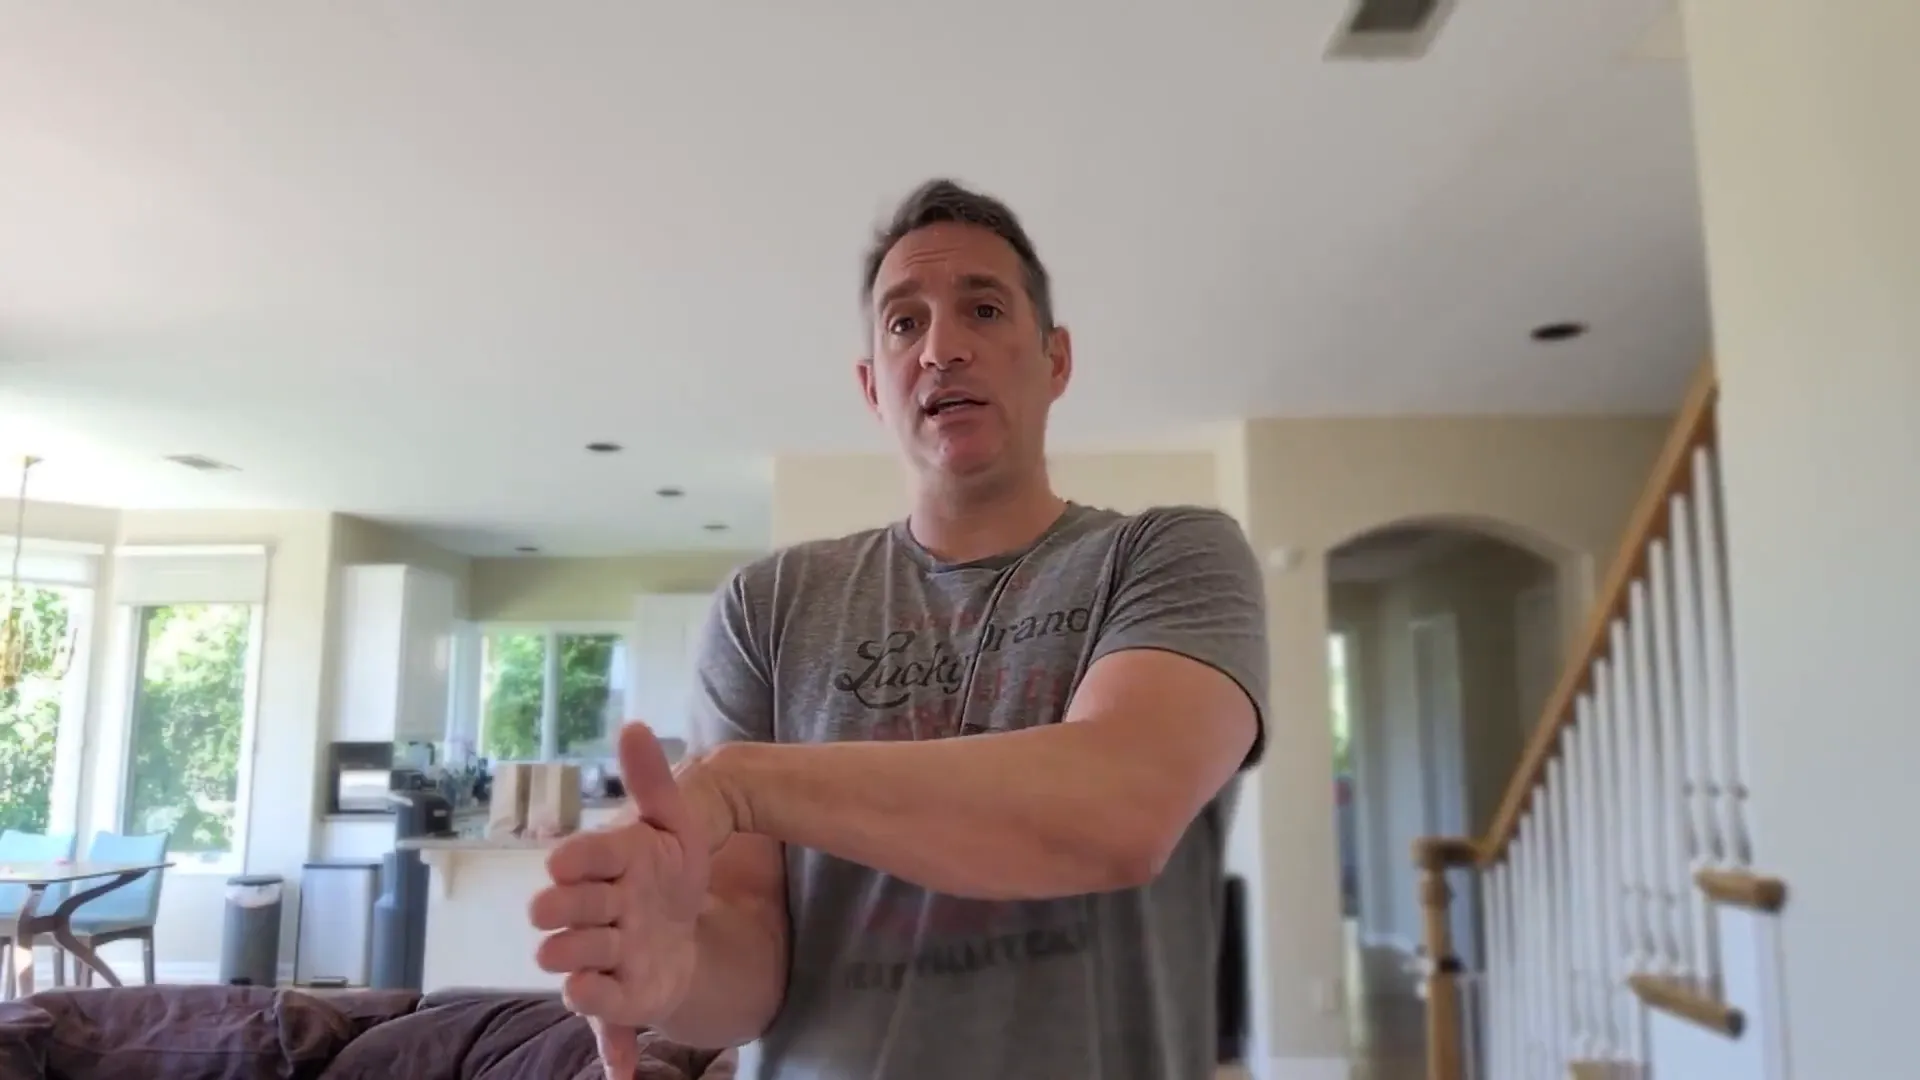
At first, I didn’t want to move my shoulder too much to avoid re-injury. Instead, I focused on static holds—isometric exercises where you engage the muscles without moving the joint. For example, I would press my hand against a wall or the seat of my car and hold the contraction. This helped me build strength gently without risking a tweak.
I also worked on external rotation by bringing my elbow up and rotating outward while pressing my hand against resistance. These small movements and holds helped me gauge where my shoulder was weak or sore and build foundational strength.
2. Testing and Expanding Range of Motion
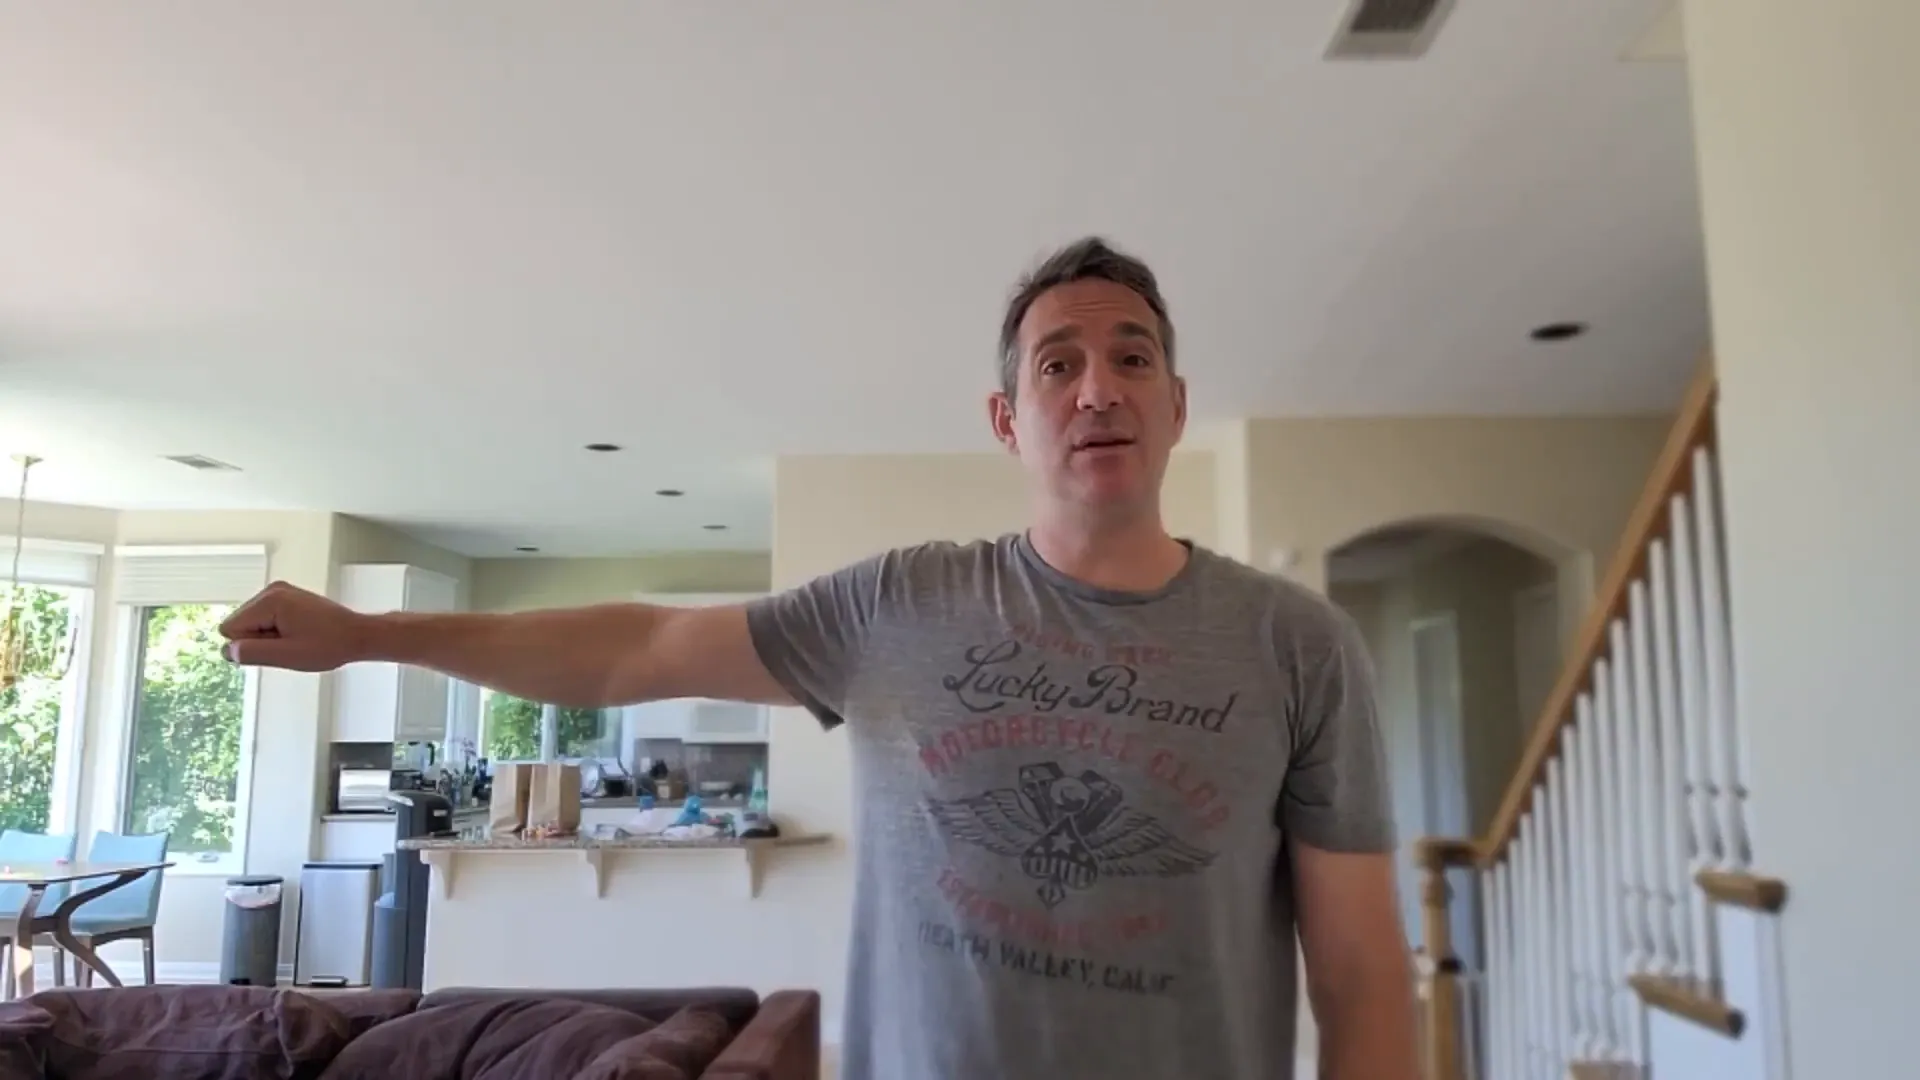
Once the static holds felt manageable, I started to slowly move my shoulder through different ranges of motion, always paying attention to how it felt. For example, I would raise my arm as if shooting a basketball and push lightly against resistance to see if there was any soreness or instability.
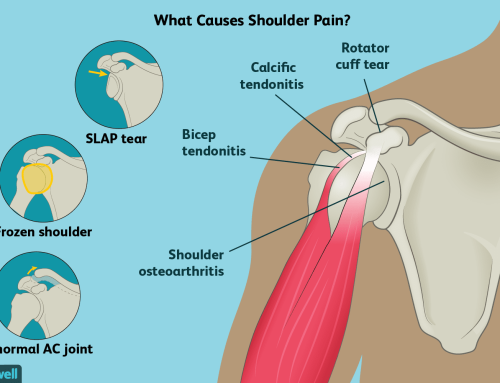
I discovered that my injury wasn’t isolated to the shoulder joint itself but involved the biceps, triceps, and deltoid muscles. This explained the soreness and weakness in various positions. By carefully exploring these movements, I could identify weak spots and focus on strengthening them.
3. Using Everyday Objects to Build Strength
To keep things simple and accessible, I used household items like a bottle of water to do lateral raises and other shoulder exercises. The goal was to hold the weight steadily and build endurance in the muscles supporting the shoulder. If a movement felt wonky or painful, I paused and adjusted my approach.
This step was crucial because it helped me build stability in the exact ranges of motion I needed for my daily activities and sports, especially basketball.
4. Gradually Challenging the Shoulder Safely
Once I was out of pain and had basic strength, I began to challenge the shoulder gently with more dynamic movements. This meant testing the limits of my range of motion slowly and carefully, pushing just enough to stimulate healing without causing setbacks.
For anyone recovering from an injury, this phase is about finding the balance between progress and caution. Testing your shoulder’s capacity in a controlled manner helps rebuild confidence and prevents the fear-driven “locking down” of the joint.

The Importance of Patience and Consistency
One of the biggest takeaways from my experience is the importance of patience. It can be tempting to rush back into sports or activities you love, but doing so prematurely puts you at high risk of reinjury. In fact, if you return too early, you might take a big step backward in your healing journey.
For example, I recommend giving yourself at least one to two weeks of focused rehab with static holds and gentle strengthening before progressing further. If you’re not careful, that two weeks can stretch into two months or more if you tweak your shoulder again.
Taking the extra time upfront saves you from frustration and long-term setbacks. It builds a solid foundation so that when you do return to your activities, your shoulder is truly ready.
Supporting Your Body’s Natural Healing Process
Healing an injury isn’t just about exercises—it’s about supporting your body’s innate ability to repair itself. Here’s the three-step healing process I followed:
- Lockdown and Immune Support: Immediately after injury, your body locks down the area to protect it. Supporting your immune system with proper nutrition, hydration, and rest helps healthy immune cells remove damaged tissue and promote healing. Techniques like lymphatic drainage can also assist this process.
- Rebuilding and Pressure Relief: Once the initial healing starts, focus on rebuilding healthy muscle and tissue. This includes removing adhesions and knots in surrounding muscles like the chest, back, and lats to take pressure off the injured joint.
- Gradual Challenge and Strengthening: When soreness decreases but weakness remains, start gently challenging the joint through controlled movement and strengthening exercises. This retrains your body to move naturally and prevents long-term instability.
Final Thoughts: Your Road to Full Recovery
Recovering from a shoulder injury—or any injury—can be a complex and sometimes lonely process. But with the right approach, you can not only heal but come back stronger and more resilient than before.
Remember the 90/10 rule: the last 10% is where your dedication counts the most. Protect your entire body, not just the injured area. Use static holds and gentle strengthening to build a solid foundation. Test your range of motion carefully and gradually increase the challenge. And most importantly, be patient and consistent.
If you follow these principles, you’ll avoid the common pitfalls of reinjury and compensatory pain, and you’ll enjoy a full return to your favorite activities—whether that’s basketball, tennis, running, or just everyday life.
Thank you for reading about my shoulder recovery journey. I hope these insights inspire and guide you on your path back to 100% health and mobility.